Invoices
The Invoices feature lets you turn tracked time into professional invoices. Navigate to Invoices in the sidebar to get started.
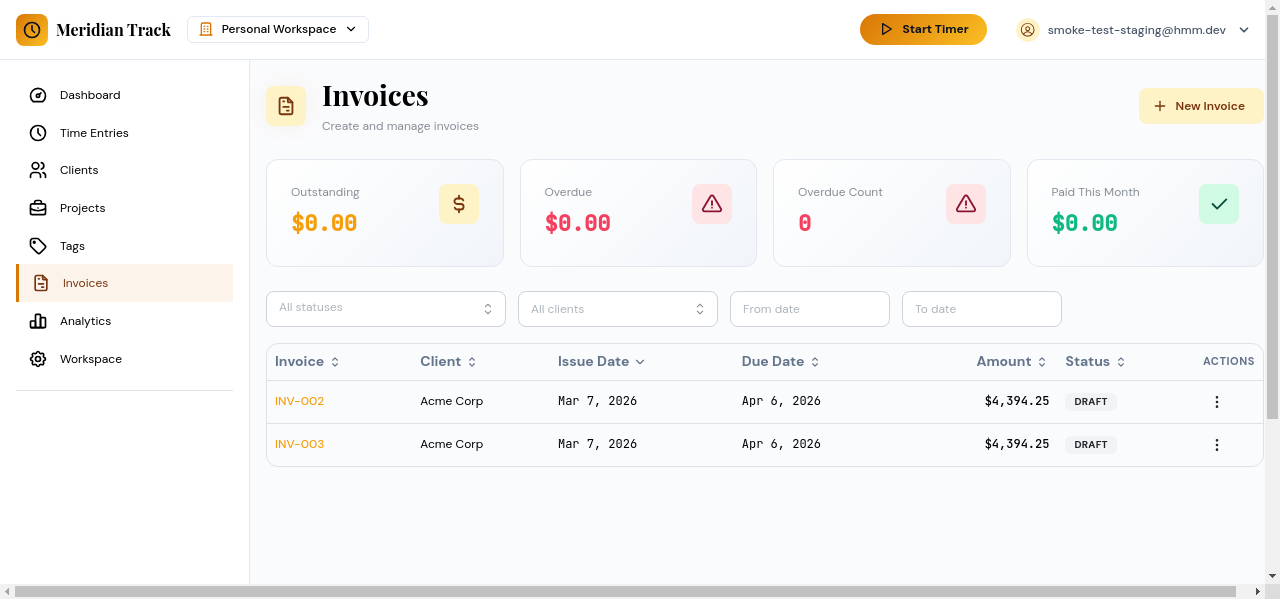
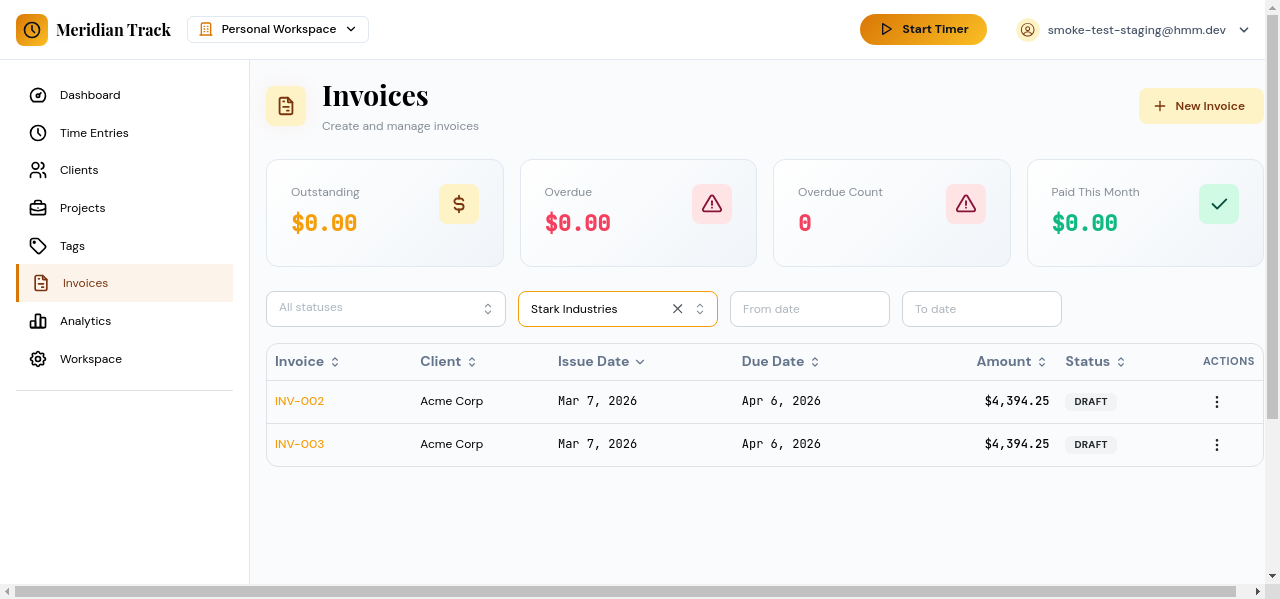
Invoice List
Section titled “Invoice List”The invoice list page shows all invoices with their current status:
- Draft — saved but not yet sent.
- Sent — delivered to the client.
- Paid — marked as paid.
- Void — cancelled and no longer valid.

Creating an Invoice
Section titled “Creating an Invoice”Click New Invoice to open the four-step creation wizard.
Step 1: Invoice Details
Section titled “Step 1: Invoice Details”Select a client and configure the basic invoice information:
- Invoice number (auto-generated, editable).
- Invoice date and due date.
- Payment terms (e.g., Net 15, Net 30).
Step 2: Line Items
Section titled “Step 2: Line Items”Add line items to the invoice. You have two options:
- From time entries — select billable time entries for the chosen client. Hours and rates are pulled automatically.
- Manual — add custom line items with a description, quantity, and unit price.
Step 3: Review
Section titled “Step 3: Review”Review the invoice totals. On this step you can:
- Add notes or payment instructions that appear on the invoice.
- Apply a tax rate.
- Verify the subtotal and total.
Step 4: Preview and Confirm
Section titled “Step 4: Preview and Confirm”Preview the final invoice layout. If everything looks correct, click Create Invoice to save it as a draft.
Invoice Detail Page
Section titled “Invoice Detail Page”Open any invoice from the list to view its full detail page.
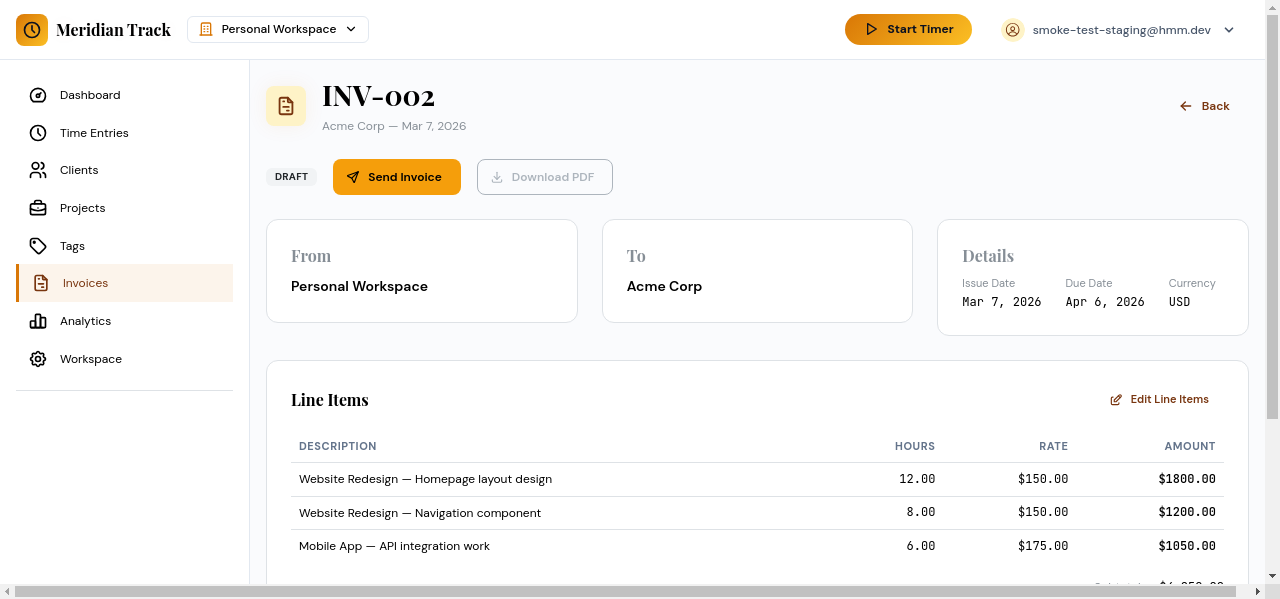
From the detail page you can:
- Download PDF — generate and download a PDF copy of the invoice.
- Send — email the invoice to the client. The status changes to Sent.
- Mark as Paid — record that payment has been received.
- Void — cancel the invoice. Voided invoices remain in the list for record-keeping but are no longer active.