Tags
Tags let you categorize time entries beyond the project and client hierarchy. They are workspace-scoped, so every member of your workspace shares the same set of tags.
Managing Tags
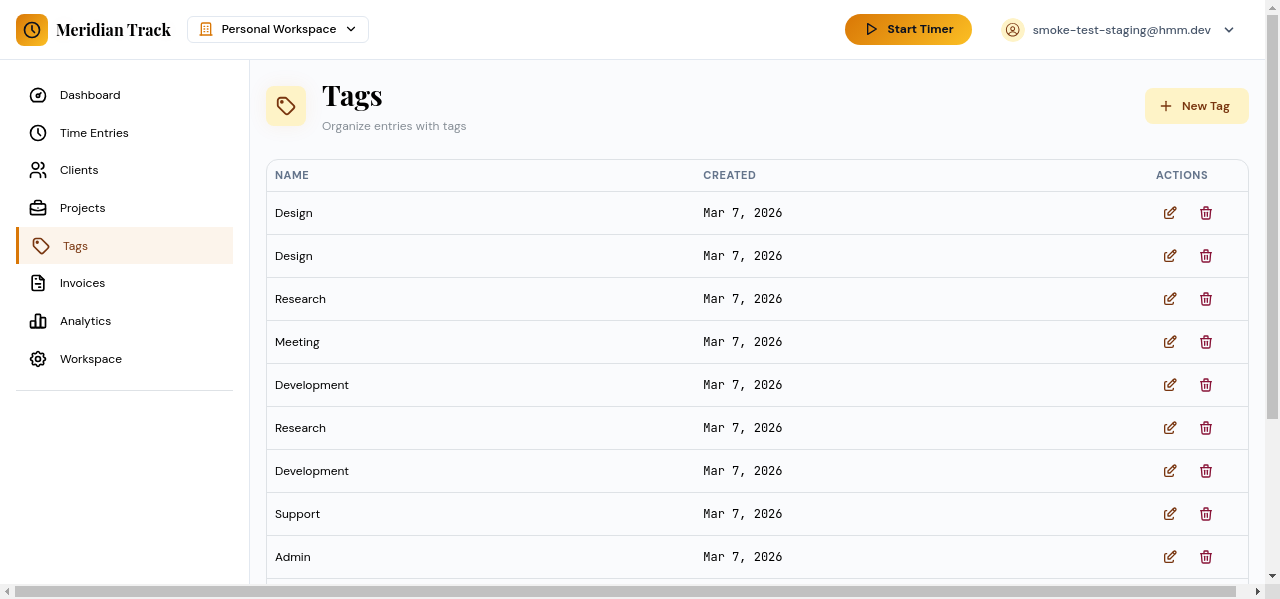
Section titled “Managing Tags”Navigate to Tags in the sidebar to view all tags in your workspace.
Creating a Tag
Section titled “Creating a Tag”- Click the New Tag button.
- Enter a tag name.
- Choose a color. The color appears as a visual indicator wherever the tag is displayed.
- Click Save.
Editing and Deleting Tags
Section titled “Editing and Deleting Tags”- Click a tag row to edit its name or color.
- Use the delete action to remove a tag. Existing time entries that reference a deleted tag will no longer display it.
Applying Tags to Time Entries
Section titled “Applying Tags to Time Entries”You can assign one or more tags when creating or editing a time entry:
- Open a time entry (from the Time Entries page or after stopping a timer).
- Select tags from the tag picker.
- Save the entry.
Tags appear on time entry rows and are included in reports and analytics filters, making it easy to slice your tracked time by any dimension you define.
Workspace Scope
Section titled “Workspace Scope”Tags belong to the workspace, not to individual users. Any workspace member can create, edit, or apply tags. This ensures consistent categorization across your team.