Timer
The timer lets you track time as you work, without needing to manually enter start and end times. It is accessible from the header bar on every page of the application.
Starting the Timer
Section titled “Starting the Timer”Click the idle timer icon in the application header to start tracking. The timer begins immediately from the moment you click.
You can optionally select a project or enter a task name before starting, or fill in those details later when the timer is stopped.
Active Timer Display
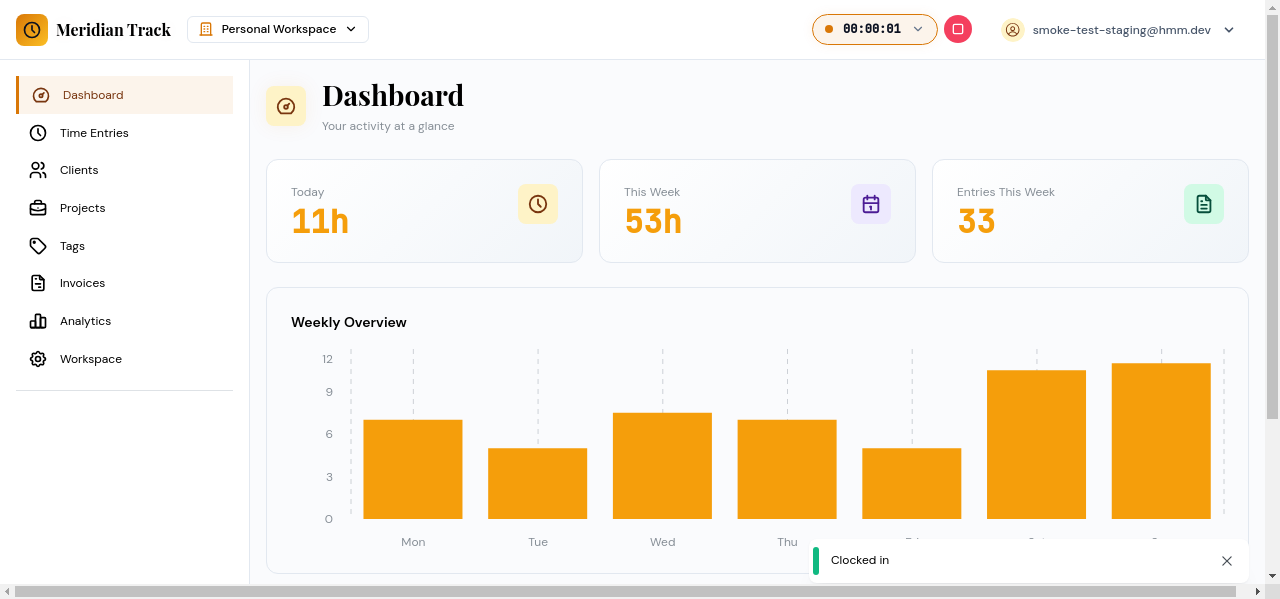
Section titled “Active Timer Display”While the timer is running, the header icon changes to show the elapsed time counting up in real time. This provides a persistent reminder that tracking is in progress, regardless of which page you are viewing.
Timer Popover
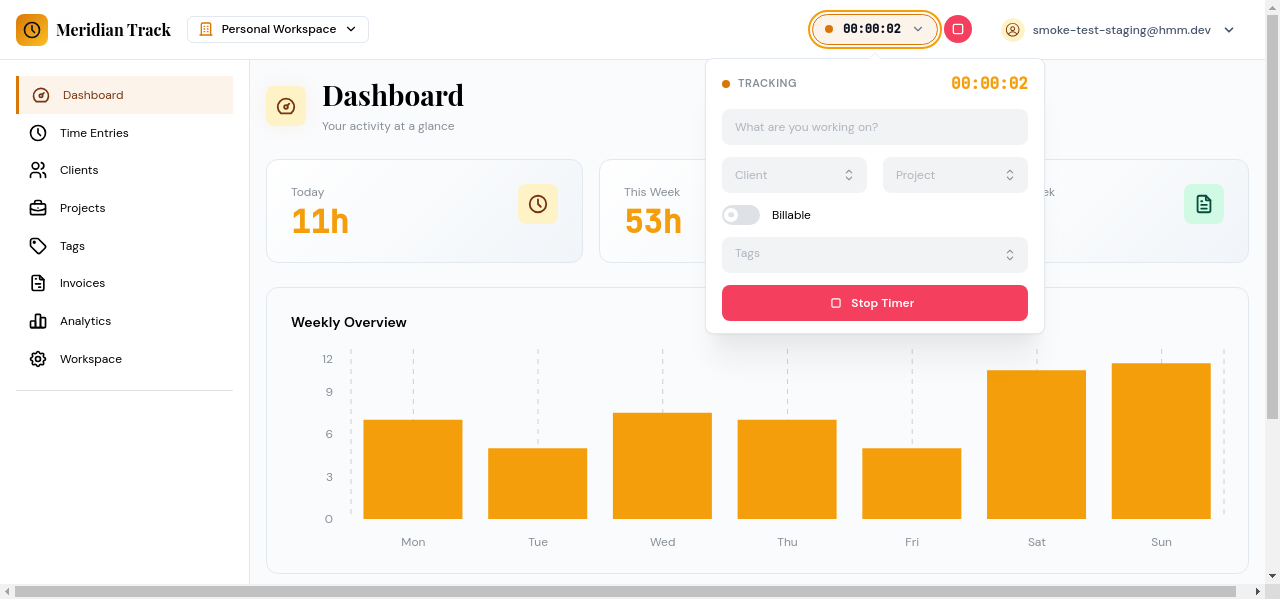
Section titled “Timer Popover”Click the active timer to open a popover with more details:
- Task name — The name of the task being tracked (if one was set).
- Elapsed time — The running duration since the timer was started.
- Stop button — Stops the timer and creates a time entry.
Stopping the Timer
Section titled “Stopping the Timer”Click the “Stop Timer” button in the popover to end the current session. When the timer stops:
- A new time entry is automatically created with the start time set to when the timer was started and the end time set to now.
- The duration is calculated automatically.
- The entry appears in your Time Entries list and is reflected in the Dashboard stats.
You can then edit the resulting time entry to add or update the task name, project, client, tags, billable status, or notes.